Showing posts with label chocolate. Show all posts

December 4, 2015

12 Days of Christmas Gifts from the Kitchen: Day 4

Pin It
Every year at Christmas, one of my former coworkers would give me a Mason jar filled with homemade chocolate covered cherries made by his wife.  She decorated the jar by attaching a round piece of Christmas fabric between the lid and the ring.  This added a touch of festivity to the delicious treat waiting inside.  I don't have her recipe, but I do have one that I shared four years ago.  If you want to make these, you need to plan ahead because the finished cherries need to sit five days before they're ready to eat.  

Margaret's Morsels | Chocolate Covered Cherries


© Margaret's Morsels

December 1, 2015

12 Days of Christmas Gifts from the Kitchen: Day 1

Pin It
This time of the year, I start getting emails with 12 days of Christmas cookie recipes.  Since I love giving gifts from the kitchen, I thought I'd share 12 recipes -- not all of them cookies -- that would make wonderful Christmas gifts.  I hope to share one or two new recipes, but I can't make any promises. As John Lennon said, "Life is what happens to you while you're busy making other plans."

What better way to start this series than with the recipe I shared five years ago in a post titled, "Gifts from the Kitchen."  I've been making these three (four if you use sprinkles) ingredient cookies at Christmas for years.  I prefer chocolate almond bark, but you can use vanilla if you want a white cookie.  Seasonal sprinkles add a festive touch to the cookies.

Margaret's Morsels | Chocolate Covered Ritz Cracker Cookies

March 14, 2014

National Pi Day

Pin It
That's not a typo in the title.  National Pi Day isn't referring to the sweet and savory pies we eat, but the Greek letter (π) used in mathematics to represent the numerical value of the ratio of the circumference of a circle to its diameter, approximately 3.14159....  Math is an important part of cooking -- just think of all the fractions!  Since today is March 14 (3/14), I thought it would be fun to use this play on words with pie recipes I've posted in the past.


Margaret's Morsels | Pecan Streusel Pumpkin Pie


Pecan Streusel Pumpkin Pie:  The addition of a streusel topping takes a plain pumpkin pie from ho hum to wow!


Margaret's Morsels | Banana Cream Supreme

Banana Cream Supreme:  This cool and creamy, no bake pie is a cross between banana pie and banana pudding.  


Margaret's Morsels | Lemonade Pie

Lemonade Pie:  What's more refreshing on a hot summer day than a glass of lemonade?  A piece of lemonade pie!  This beat the heat dessert gets its wonderful lemon flavor from a can of lemonade concentrate.  


Margaret's Morsels | Easy Peanut Butter Chip Pie

Easy Peanut Butter Chip Pie:  The pie is made with peanut butter chips and not peanut butter.  If you love chocolate and peanut butter, top the pie with a bottle of chocolate Magic Shell topping!


Margaret's Morsels | Chocolate Dream Pie

Chocolate Dream Pie:  This no bake pie only uses four ingredients and half of them are chocolate!  


Margaret's Morsels | Chocolate Cobbler


Chocolate Cobbler:  This eggless cobbler makes its own chocolate sauce! It's best served hot from the oven with a scoop of ice cream on top!  


Margaret's Morsels | Cookie Apple Cobbler


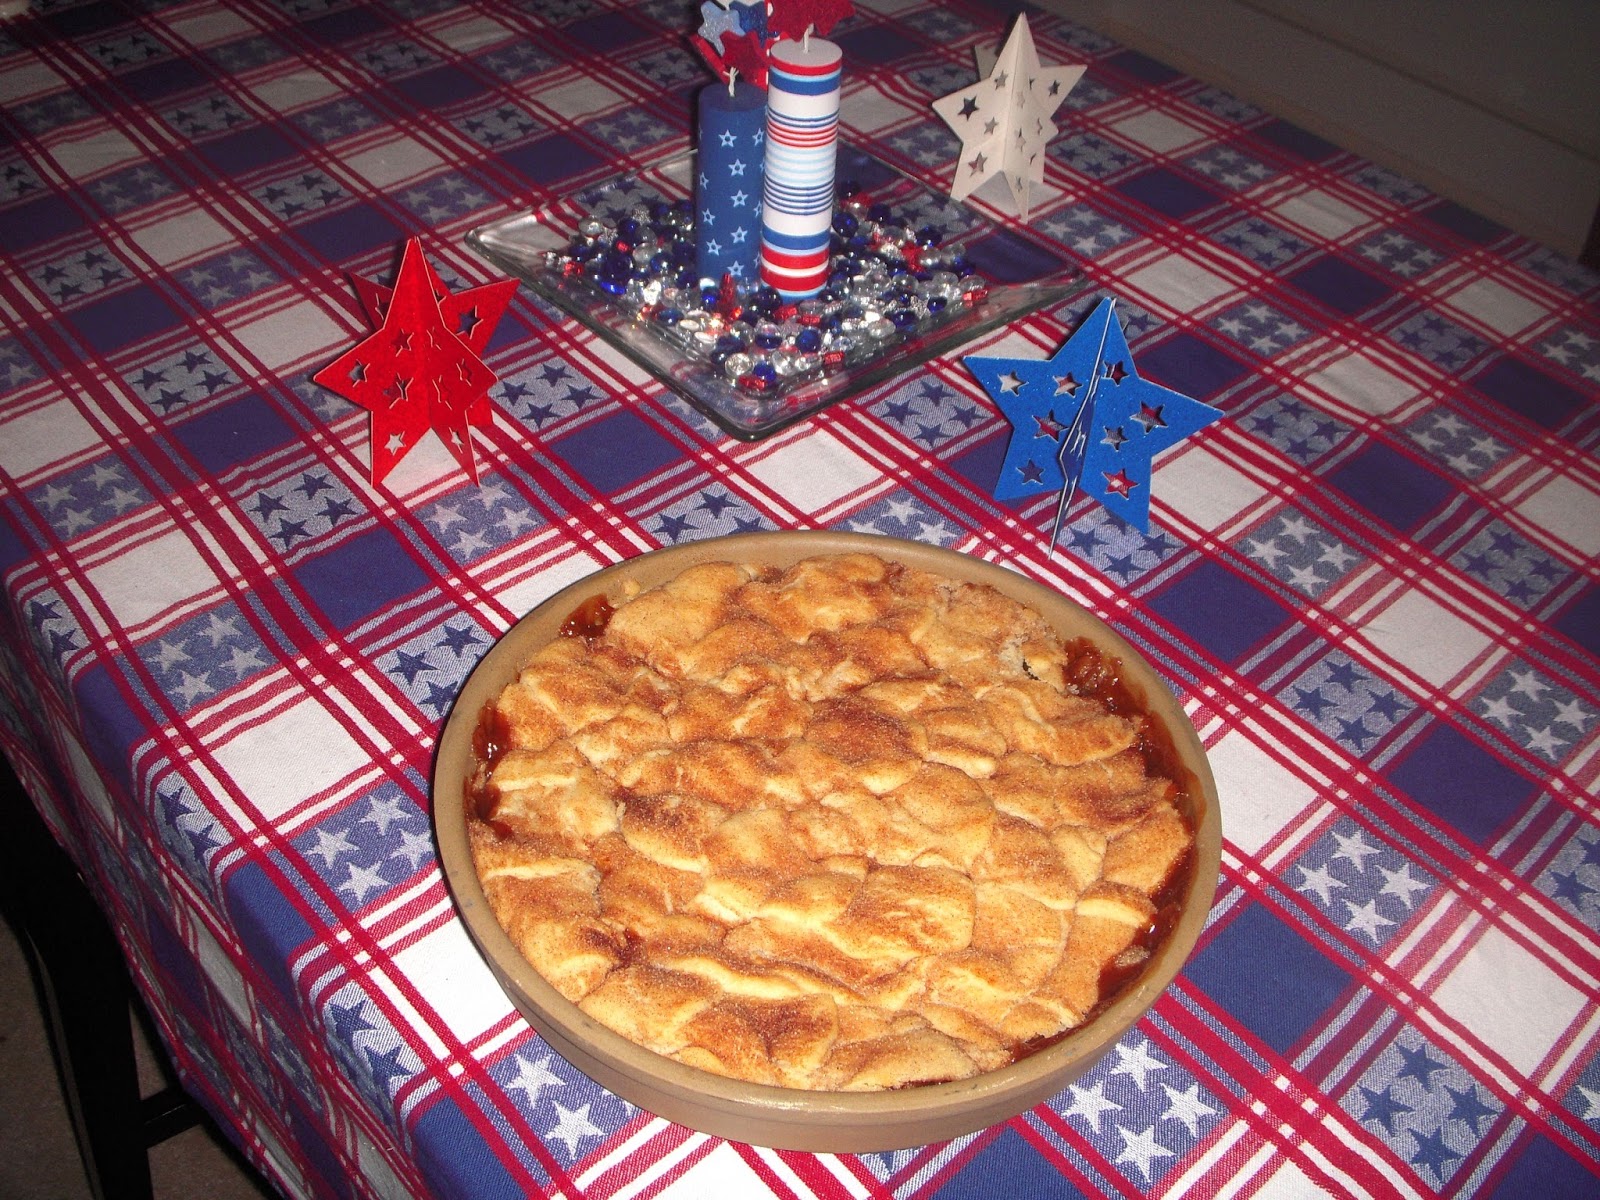
Cookie Apple Cobbler:  This apple pie is super easy to make.  The crust is made with a package of refrigerated sugar cookie dough!


Margaret's Morsels | Chicken Pot Pie

Chicken Pot Pie:  The picture doesn't do this pie justice!  Refrigerated pie crusts encase a filling made with canned chicken, vegetables, soup, milk and seasonings.


Margaret's Morsels | Broccoli Quiche

Broccoli Quiche:  You don't have to make the pie crust, cook the broccoli or, if you don't mind spending a little extra, even grate the cheese!


Margaret's Morsels | Bacon Quiche

Bacon Quiche:  This quiche uses a package of refrigerated pie crusts and is baked in a 13 x 9-inch pan.  The filling ingredients can be assembled and refrigerated ahead of time.


© Margaret's Morsels


February 13, 2014

Chocolate Lovers Delight

Pin It
Margaret's Morsels | Chocolate Cobbler

Ever since we got married, my husband and I celebrate Valentine's Day at home.  We'd rather go out another night when restaurants aren't as crowded and in a hurry to seat the next party and prices aren't inflated because of the holiday.  To celebrate at home, I always fix something special for supper.  This year, my husband and son both asked if I would fix Grilled Peppered Steaks.  My husband would love Chocolate Covered Cherries for dessert, while our son would prefer a Peanut Butter Pie with a Magic Shell chocolate topping.  Unfortunately, my son doesn't like cherries and my husband doesn't like chocolate and peanut butter combined.  I don't have time to make both so I decided to keep it simple and just make something chocolate.

My mother found the recipe for Chocolate Cobbler in the newspaper in the early 1990's.  The name is misleading because it doesn't use fruit like most cobbler recipes, but like a cobbler it only has one crust.  I've seen the recipe called by other names including, "Pudding Cake," "Fudge Cake" and "Brownie Pudding."

Usually when I serve dessert, it's something that can be made ahead of time and served cold or at room temperature.  Chocolate Cobbler, though, is best served hot from the oven.  To make it less stressful at the end of the day when I'm cooking supper, I measure the cobbler ingredients ahead of time.  By the time supper's on the table, I've got the cobbler mixed up and ready to go in the oven.  By the time supper's over, the cobbler is ready to eat.

The cobbler starts by combining sugar, cocoa, milk, oil and self-rising flour.

Margaret's Morsels | Chocolate Cobbler


Self-rising flour is a time saver because it already has the leavener and salt added.  If you don't have self-rising flour, you can make your own.  For 1 cup self-rising flour, add 1 1/2 teaspoons baking powder and 1/2 teaspoon salt to 1 cup all-purpose flour.

Once the cobbler ingredients are combined, spread them in a greased 8 or 9-inch square pan.

Margaret's Morsels | Chocolate Cobbler


Combine cocoa and brown sugar in a bowl and sprinkle the mixture over the cobbler ingredients.

Margaret's Morsels | Chocolate Cobbler


Unlike white sugar, brown sugar needs to be firmly packed into the measuring cup.  If you need to know how to do this, or want to know why, you can read about it here.

The final ingredient is hot -- not boiling -- water.  Turn the hot water on and let it run until the faucet feels hot to the touch.  Measure the water in a liquid measuring cup and pour it slowly over the brown sugar mixture.  Do not stir the water with the other ingredients!  

Margaret's Morsels | Chocolate Cobbler


Put the pan in the oven and bake the cobbler for 45 minutes.  When you remove the cobbler from the oven, you'll see that the batter has risen to the top and made a crust.  The cocoa and brown sugar mixture melts and turns the hot water into a delicious chocolate sauce underneath the crust!

Margaret's Morsels | Chocolate Cobbler


Scoop the cobbler into a serving dish, making sure to spoon some of the sauce over the top.  The cobbler is good plain, but it's even better topped with whipped cream or a scoop of vanilla ice cream.  For a truly decadent dessert, substitute chocolate ice cream for the vanilla!

Margaret's Morsels | Chocolate Cobbler


Chocolate Cobbler is a tasty way to celebrate Valentine's Day, but it's also a great dessert to serve year round.  It's delicious, easy to mix up and, since it doesn't use eggs, chances are you've got the ingredients on hand. To be on the safe side, though, you might want to keep some ice cream in the freezer!


Chocolate Cobbler
6 Servings

1 cup self-rising flour
1/2 cup sugar
2 Tbsp. cocoa
1/2 cup milk
3 Tbsp. vegetable oil
1 cup brown sugar, firmly packed
1/4 cup cocoa
1 3/4 cups hot water (not boiling)

Combine the first 5 ingredients in a mixing bowl.  Pour into a greased 8 or 9-inch square pan.  Stir together the brown sugar and 1/4 cup cocoa; sprinkle over the batter.  Pour hot water evenly over the brown sugar mixture.  Do not stir!  Bake at 350° for 45 minutes.  While hot, scoop into serving bowls and spoon sauce over each serving.  If desired, top with whipped cream or ice cream.

© Margaret's Morsels

July 11, 2013

Spotlight on Summer: Cool and Creamy

Pin It
A lot of you are new to Margaret's Morsels.  To help introduce you to the site, I thought I'd compile a list of summertime recipes from previous blogs. The list isn't all inclusive, but includes some of my favorites from five different categories.  To make it manageable, I'm making this a three part series.  Today's recipes are foods that are cool and creamy.  Click the words in bold to go to the page with the recipe. 


Margaret's Morsels | Easy Peanut Butter Chip Pie

Easy Peanut Butter Chip Pie:  This is the recipe that launched Margaret's Morsels.  The pie gets its wonderful flavor from peanut butter chips.  My son came up with the idea of adding Magic Shell topping for a delicious chocolate/peanut butter combination.  No matter how you top it, it's a cool and refreshing dessert on a hot summer day.


Margaret's Morsels | Peanut Butter Fudge

Peanut Butter Fudge:  Here's another recipe that uses peanut butter chips, but it also uses peanut butter.  This fudge doesn't require any cooking, unless you count melting ingredients in the microwave as cooking! Since the fudge is stored in the refrigerator, it makes a cool summertime treat.

Margaret's Morsels | Quick and Easy Lemon Bars

Quick and Easy Lemon Bars:  This recipe has been in Margaret's Morsels top 10 since it was first posted in 2011.  These are the only lemon bars I've ever made that turn out perfect each and every time.  Storing them in the refrigerator not only keeps them cold, but enhances the flavor.

Margaret's Morsels | Lemonade Pie

Lemonade Pie:  This is another lemon recipe posted in 2011 that currently ranks as the sixth most popular recipe on Margaret's Morsels.  The only appliance you need to make this pie is a hand mixer!


Margaret's Morsels | Chocolate Dream Pie


Chocolate Dream Pie:  This is a chocolate lover's dream recipe.  The pie only uses four ingredients and half of them are chocolate!  Just like the lemonade pie, the only appliance you need is a hand mixer. 


Margaret's Morsels | Banana Cream Supreme

Banana Cream Supreme:  This isn't a pudding and not quite a pie; it's the best of both!  This no bake dessert is assembled in a spring-form pan with a layer of bananas between the filling.  Although it's delicious in the summer, my teenage son thinks it's also good in the fall, winter and spring!


Margaret's Morsels | Cherry Pie Filling Salad

Cherry Pie Filling Salad:  This first time I ever saw this recipe, I thought it wouldn't be any good.  Boy, was I wrong!  Not only is it delicious, it's versatile and can be served from the refrigerator or freezer as either a side or dessert.


Margaret's Morsels | Vanilla Ice Cream

Vanilla Ice Cream:  This is the recipe my mom used to make.  To this day, I think it's the best vanilla ice cream ever!  The only change I've made to the recipe is to replace the raw eggs with egg substitute.

Margaret's Morsels | Peach Ice Cream


Peach Ice Cream:  This peach ice cream isn't vanilla ice cream with chopped up peaches.  It uses fresh peaches and canned peach nectar. Peaches peak in July and August so this is a great time to make this ice cream.

Margaret's Morsels | Orange Peach Soup


Orange Peach Soup:  Here's another recipe that uses fresh peaches. This chilled peach soup can be served for brunch, lunch or even supper. It makes a great first course, especially when the meal that follows is light.

Margaret's Morsels | Lime Jello Salad


Lime Jello Salad:  This has been a family favorite since a friend gave me the recipe over 20 years ago.  If you don't like lime, you can substitute other flavors of jello and fruit.


Margaret's Morsels | Fruity Orange Gelatin


Fruity Orange Gelatin:  If you prefer jello that jiggles, give this salad a try. Unlike congealed salads made with red jello, there's no mistaking the flavor of this salad.  It only uses five ingredients and three of them are orange!


Margaret's Morsels | Cherry Gelatin Fruit Salad


Cherry Gelatin Fruit Salad:  Here's another jello recipe that jiggles.  This is my most requested congealed salad recipe.  No one will ever guess it only uses four ingredients and all of them are sugar-free!

Margaret's Morsels | Sour Cream Cherry Cheesecake


Sour Cream Cherry Cheesecake:  The kitchen won't get hot when you make this cheesecake.  The crust is the only thing that needs to be baked and that only takes 10 minutes!  The rest of the cheesecake is made by doctoring up a package of cheesecake mix.  I use cherry pie filling on top, but you can use your favorite flavor.

Check back next week for part two of the series.

© Margaret's Morsels

May 17, 2013

Microwave Magic

Pin It
Margaret's Morsels | Microwave Brownies

Microwave ovens are wonderful for reheating food.  They're also an excellent way to cook bacon, popcorn, fresh corn-on-the-cob and baked potatoes. You can also use a microwave to cook a made from scratch dessert.  You can go from this

Margaret's Morsels | Microwave Brownies

to this

Margaret's Morsels | Microwave Brownies

in just four minutes!

Homemade microwave brownies are easy to make.  They use the usual ingredients for brownies so chances are you've already got everything on hand.  Nuts are optional so, if you don't have any or don't like them, you can omit them.

To save even more time, let the butter or margarine soften at room temperature while you measure the remaining ingredients.  By the time you're done measuring, the butter will be soft.

Cream the butter and sugar together.

Margaret's Morsels | Microwave Brownies

Mix in the eggs and vanilla.

Margaret's Morsels | Microwave Brownies

Combine the dry ingredients and add to the creamed mixture.

Margaret's Morsels | Microwave Brownies

Beat with a mixer until the ingredients are thoroughly combined.

Margaret's Morsels | Microwave Brownies

Stir in nuts.  I prefer walnuts, but pecans are good too.  Unfortunately, I didn't have either one so I made this batch without nuts.

Pour the batter into a greased glass or microwave-safe baking dish.  I use an 8-inch square Pyrex dish.

Margaret's Morsels | Microwave Brownies

To keep the brownies from overcooking, microwave them in one minute intervals.  Check the batter with a toothpick after each minute, repeating the process until the toothpick comes out clean.  There may be some crumbs on the toothpick, but that's ok.  It takes a total of four minutes for the brownies to cook in my 1100 watt microwave.  Depending on the wattage of your microwave, it may take more or less time.

Let the baking dish cool on a wire rack and then cut the brownies into squares.

Microwave brownies are great for those times when you want something sweet, but you don't want to spend a lot of time in the kitchen.  The recipe also comes in handy when you find out at the last minute you need to make something homemade for a bake sale the next day.  The brownies can be cooked and cooled in less time than it would take to make something from a mix!

Microwave Brownies
16 Servings

1 cup sugar
2/3 cup butter or margarine, softened
2 eggs
1/2 tsp. vanilla
1/2 cup cocoa
1 cup all-purpose flour
1/2 tsp. baking powder
dash of salt
1 cup chopped nuts (optional)

Cream the sugar and butter together in a large mixing bowl using an electric mixer.  Add eggs and vanilla; mix well.  Combine the cocoa, flour, baking powder and salt.  Add to the creamed mixture, beating until combined.  Stir in nuts.  Spread in a greased 8-inch glass or microwave-safe baking dish.  Microwave on High in one minute intervals, testing with a toothpick after each minute.  Repeat the process until a toothpick comes out clean.  Cool the baking dish on a wire rack and then cut the brownies into squares.

© Margaret's Morsels

February 14, 2013

Chocolate for Valentine's Day

Pin It
Margaret's Morsels | Chocolate Dream Pie

Valentine's Day is synonymous with chocolate, but that doesn't have to mean candy.  As Forrest Gump eloquently said in the movie, "Life is like a box of chocolates.  You never know what you're gonna get."  Unlike a box of candy, there won't be any unwanted pieces when it comes to chocolate pie, especially one with a delectable chocolate filling on top of a chocolate crumb crust.  If you think you don't have the skills to make a pie, think again!  Chocolate Dream Pie doesn't require any cooking, only uses four ingredients and half of them are chocolate!

The pie starts by combining Dream Whip and milk.  Dream Whip, a powdered whipped topping mix, is a tastier alternative to Cool Whip and much faster to prepare than whipped cream.  In several recipes I've posted, I suggested, for better results, not using low-fat or nonfat ingredients. When using Dream Whip, it's actually better to use the lower fat alternatives.  I found this out the hard way.

The first time I ever made this pie, I assumed it would be firmer if I used whole milk.  While I was mixing the ingredients, I glanced at the Dream Whip box and read the following sentence:  "For best results, use 2% reduced fat milk, 1% low-fat or fat-free milk."  This works out good since we drink 1% milk.

Margaret's Morsels | Chocolate Dream Pie

Combine the Dream Whip and milk with an electric mixer on low speed just until blended.  Increase the speed to high and beat four minutes until the mixture thickens and forms peaks on the beaters.

Margaret's Morsels | Chocolate Dream Pie

Add some more milk and a box of instant chocolate pudding and pie filling. Be sure to use regular chocolate pudding and not sugar-free.  Sugar-free pudding doesn't have the same consistency and won't set up like regular pudding.  You have two choices when it comes to beating the pudding into the Dream Whip mixture.

The original recipe called for beating the pudding two minutes.  This makes a pie that's light and fluffy, but not as aesthetically pleasing as one that's beaten until the pudding is smooth, about seven minutes.  The pies are delicious either way so the decision comes down to personal preference.

Margaret's Morsels | Chocolate Dream Pie
The pie on the left was mixed for seven minutes.
The one on the right, two minutes.

Spread the filling in a chocolate crumb crust and refrigerate at least four hours.

I like the pie plain, but my husband likes it garnished with whipped cream. If you want to garnish the garnish, sprinkle mini chocolate chips, chocolate curls or cocoa powder over the whipped cream.

Margaret's Morsels | Chocolate Dream Pie

If you want to add a pop of color, add a maraschino cherry with a stem on top.

Margaret's Morsels | Chocolate Dream Pie

A festive touch for Valentine's Day is to garnish the whipped cream with some candy conversation hearts 

Margaret's Morsels | Chocolate Dream Pie

or other Valentine candy.

Margaret's Morsels | Chocolate Dream Pie

I'm late posting this recipe so you might not have time to make the pie today.  Next year, think outside the heart shaped box and surprise your Valentine with a Chocolate Dream Pie instead.  It won't get thrown away like some pieces of candy!  


Chocolate Dream Pie
6 to 8 Servings

1 envelope Dream Whip whipped topping mix
1 1/2 cups milk, divided
1 (4 serving size) pkg. chocolate instant pudding and pie filling (not sugar-free)
1 (6 oz.) chocolate pie crust

Mix Dream Whip and 1 cup milk in a large bowl with an electric mixer on low speed until blended.  Beat on high speed 4 minutes until topping thickens and forms peaks.  Add remaining milk and pudding mix; blend. Beat at high speed 2 minutes for a light and fluffy filling or 7 minutes for a smooth filling.  Spoon into pie crust.  Cover and refrigerate at least 4 hours before serving. Store in the refrigerator.

© Margaret's Morsels


October 21, 2011

Nuts About Coconut Variation

Pin It

Margaret's Morsels | Hoagy Cake


Last year, per a reader's request, I posted a recipe for coconut cake.  I wrote that the icing could be made as coconut or chocolate.  I recently made the cake for a church potluck dinner and wanted to show what the cake looks like with chocolate icing.  


Margaret's Morsels | Hoagy Cake
  
The chocolate icing is prepared just like the coconut icing, except the coconut is omitted.  Cocoa powder is sifted with the powdered sugar to remove any lumps.  My family loves chocolate, so I add 3 tablespoons of cocoa.  If you want an icing that's not as rich, use 2 tablespoons of cocoa instead.  If you missed the coconut cake blog, click here for the recipe.


© Margaret's Morsels