Halloween was never a favorite holiday of mine until I became a mother. When our son was two, my husband came home from work to find decorations in the yard, window clings on the front door and Halloween decor inside the house. The holiday spirit extended into the kitchen with a variety of Halloween themed foods.
Last year, I posted Halloween ideas and recipes for young kids or the young at heart. Today, I want to share some ideas that work for the older crowd too. This isn't a menu, but rather ideas you can mix and match for your own holiday feast.
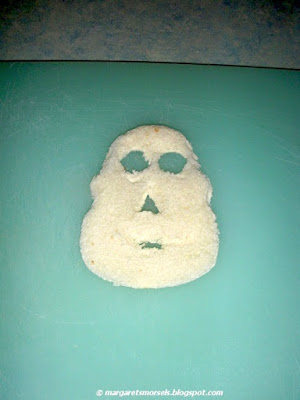
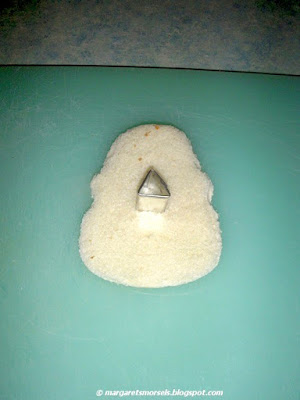
Although I like to alter the holiday menu from year to year, I always serve Halloween shaped sandwiches as the entree. People, young and old alike, get a kick out of them. This year, I'm using skull, tombstone and Jack O'Lantern cookie cutters. It's easy to add features to the skull making it go from this:
to this:
For best results, use bread that's a few days old; fresh bread tears too easily. The Jack O'Lantern cookie cutter came with a small triangle that is wonderful for the nose. If you don't have anything that small, cut a triangle shape in the bread with a knife.
After you cut out the nose, make the eyes. The easiest way to do this is to use a clean small bottle top as a cookie cutter. If you don't have one available, cut two circles for the eyes with a knife.
Finally, use a knife to draw a straight line for the mouth. Remove some of the excess crumbs so the mouth will be visible.
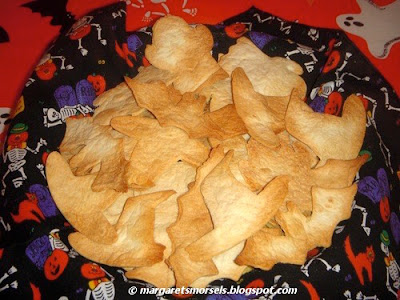
Instead of regular chips and dip, serve Halloween shaped tortilla chips with Zombie Bits. The chips are flour tortillas that have been cut with Halloween cookie cutters before being baked. The dip may sound disgusting, but it's actually queso dip.
Cut the tortillas with 3-inch cookie cutters. Place the pieces on a baking sheet and sprinkle with salt. Bake at 400° for 6 to 10 minutes. The time depends on the thickness of the tortillas as well as the shape of the chips. Don't underbake the chips or they'll be chewy instead of crispy. If some chips bake faster than others, remove them to a cooling rack while the other chips finish baking.
Over the last few years, Halloween molds -- especially ones that resemble body parts -- have become more commonplace. I fill a brain mold with two packages of gelatin for a disgusting looking congealed salad. Once the gelatin is firm and transferred to a serving platter, decorate the brain and platter with gummy words for an extra dose of disgust.
In addition to food, I like to include some whimsical touches. Instead of regular ice cubes, I make ice cubes using Halloween themed silicone ice cube trays.
If I'm serving soft drinks, I make the ice cubes out of water. If I'm serving punch, I make extra punch and freeze it as ice cubes. This keeps the punch from getting diluted when served.
One of my favorite things to do is coat drinking glasses with fake blood. Combine corn syrup and red food coloring in a small bowl. Dip the rims of the glasses in the mixture and stand them upright letting the "blood" ooze down the glasses. Put the glasses on paper towels or a baking sheet to catch any drips. This needs to be done eight hours ahead of time so the blood has time to dry.
Got a bone to pick because I'm not including any dessert ideas? Check back later this week for the treats!
© Margaret's Morsels


No comments:
Post a Comment