April 26, 2011

Egg-Cellent Egg Salad

Pin It
Margaret's Morsels | Egg Salad Sandwiches

My son is too old to hunt Easter eggs, but that doesn't stop me from dyeing a dozen eggs every year.  Although the eggs are colorful, they have a purpose other than decoration.  I use them to make a batch of egg salad the day after Easter.  Not only is this a good use for the eggs, it makes for a light meal the day after our Easter feast.


I have a couple of friends that love egg salad, but have never made a batch.  I tell them if they can cook hard-boiled eggs, they can make egg salad.


Egg salad is one of those recipes you can make your own.  Like deviled eggs, you can add anything you like to egg salad.  I've seen recipes that use pickles, onion, celery and bacon.  It all boils down to what you want in your salad.  My egg salad recipe uses the same ingredients -- mayonnaise, salt, vinegar -- as the recipe I posted for deviled eggs, but the technique is different.


Once the eggs have been boiled and cooled, peel and cut each egg into four pieces.  If you're using Easter eggs, don't be alarmed if some of the dye has been absorbed by the egg white.  Roughly cut the eggs into bite size pieces in a mixing bowl.


Margaret's Morsels | Egg Salad Sandwiches

Combine the eggs with the remaining ingredients and store covered in the refrigerator.  I make the egg salad early in the day or the day before serving.  This gives the vinegar time to mellow.

Egg salad is a quick refreshing meal, especially when paired with a cold glass of fruit tea.  It's good year round, but it's definitely more colorful when made with leftover dyed Easter eggs.


Margaret's Morsels | Egg Salad Sandwiches

Egg Salad
4 Servings

6 hard-boiled eggs, chopped
1/3 cup mayonnaise
1/2 tsp. salt
1 tsp. vinegar

Chop eggs into bite size pieces.  Combine eggs with the remaining ingredients; stir until well mixed.  Store covered in the refrigerator.  If you're using a dozen eggs, double the ingredients.


© Margaret's Morsels

April 22, 2011

Easter Menu: Part 3

Pin It This is the third of a three part series with recipes from my Easter menu.

Margaret's Morsels | Easter Bunny Cake

If you don't know what to serve for dessert on Easter, it's not too late to make a bunny cake.  You don't need a special pan, only two 8-inch round cake pans.


I learned how to make this cake in a high school home economics class. My home ec teacher taught us to prepare the cake mix according to the package directions, but that's not how I fix it anymore.


Now days, when I bake a white or yellow cake mix, I use a recipe given to me by a friend that decorates cakes.  Instead of following the directions on the box, add water, Dream Whip, eggs and oil -- applesauce if you want to reduce the amount of fat -- to the cake mix.  The combination of these ingredients makes a packaged cake mix taste homemade.


Margaret's Morsels | Easter Bunny Cake
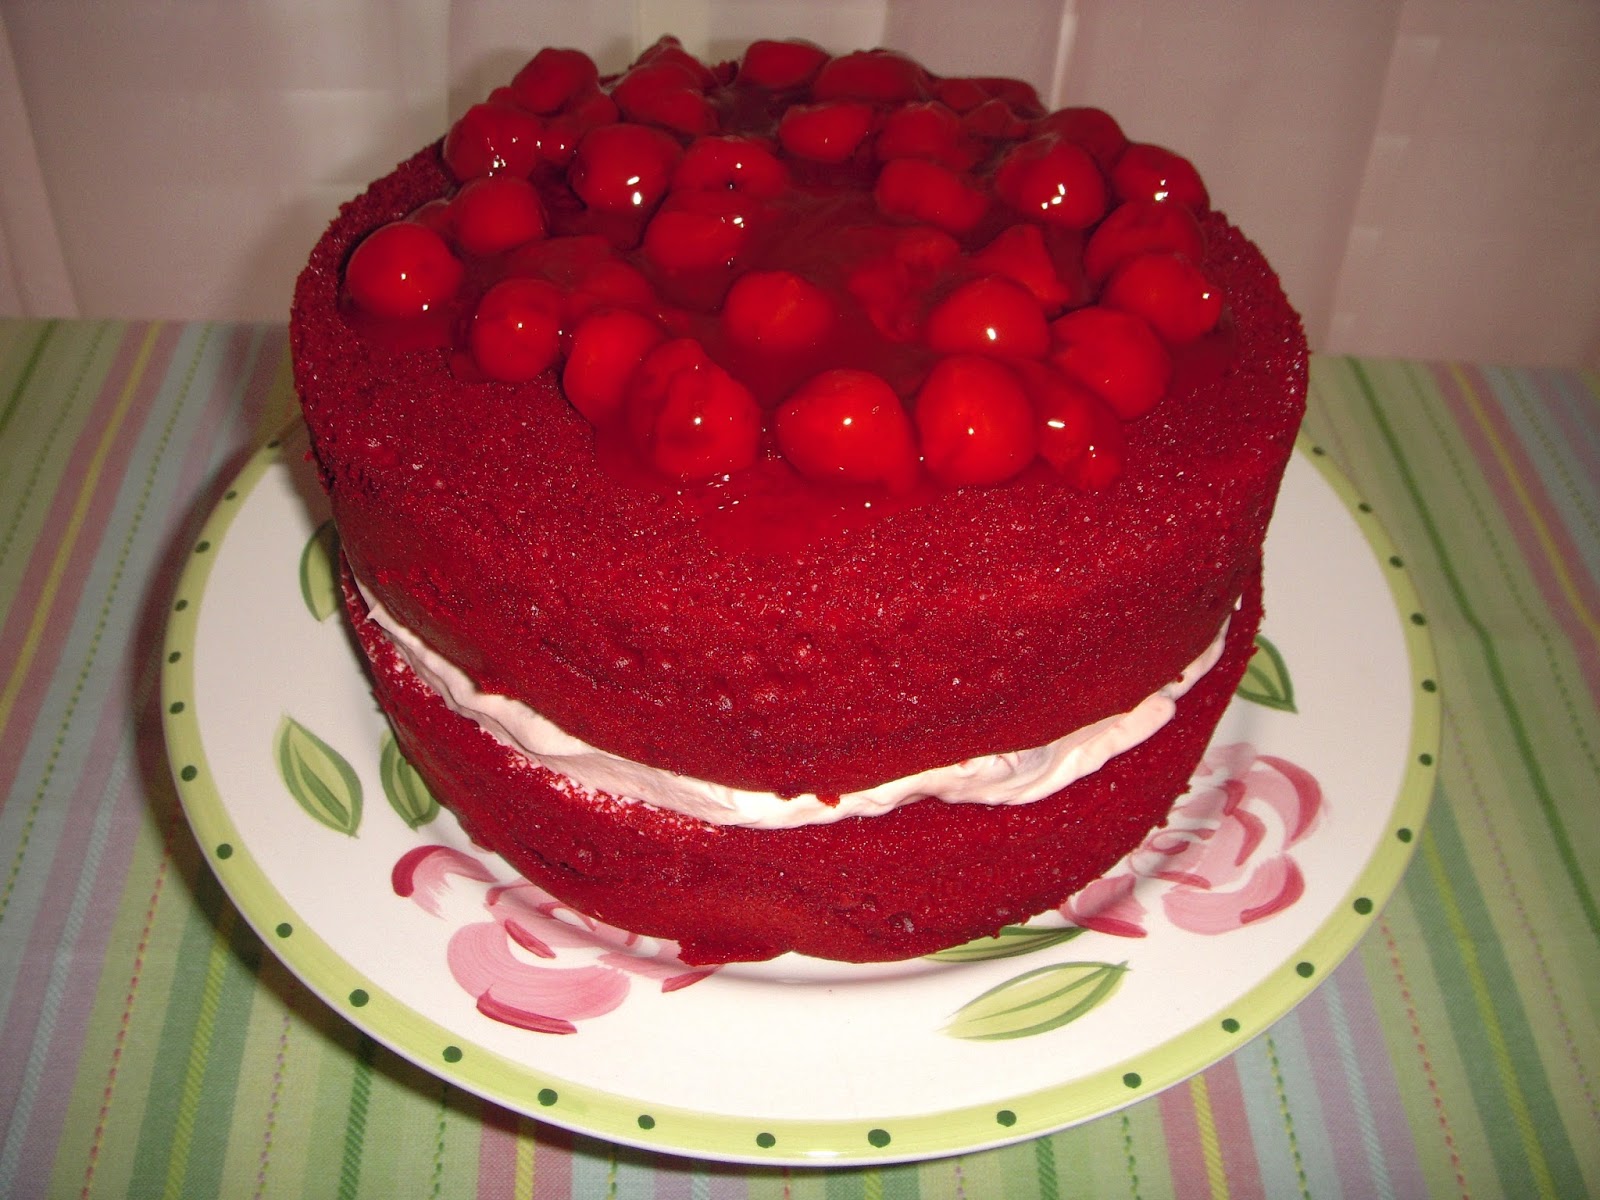
This is all you need to make a bunny cake.

It's always best for food to be the same size to ensure even cooking.  This is also true in baking.  You want the amount of cake batter in each pan to be equal.  That way, the cakes will be the same size and one won't bake faster than the other.  There are various ways to achieve this.

I use a large cookie scoop and add one scoop of batter at a time to each pan until the batter is used up.  You can do the same thing with a measuring cup.  If you don't want to fool with a scoop or measuring cup, pour the batter into the pans, adding and removing batter, until the pans contain the same amount.

Margaret's Morsels | Easter Bunny Cake

After all the batter is used, tap each pan on the kitchen counter a few times.  This distributes the batter and pops any air bubbles on the surface. Put the pans in the oven and bake for about 40 minutes.  Let the pans cool on a wire rack for 10 minutes.  Remove the cakes from the pans and cool completely on a wire rack.

Once the cakes are completely cool, put one in the freezer on a wire rack for about 30 minutes.  You don't want to freeze the cake, but want it very cold.  This makes it less likely to crumble when you cut the cake into the bunny shape.

Put the cake that was in the freezer on a cutting board and cut curves in the side of the cake for the ears.  Use the leftover piece for the bow tie. The remaining cake is the bunny's head.


Margaret's Morsels | Easter Bunny Cake
Cut the second ear from the other side of the cake.

Assemble the pieces on a large cake board or cookie sheet.  If the pieces are too big, trim the ears or bow tie until everything fits.


Margaret's Morsels | Easter Bunny Cake

Frost each part of the cake including the edges with a white frosting, such as vanilla, buttercream or cream cheese.  I buy two 16 ounce containers of frosting to make sure I have enough to cover the whole cake completely.

Once the frosting is applied, sprinkle flaked coconut on top of the frosting to mimic the bunny's fur.  My son doesn't like coconut so I leave it off of the bow tie.  That way, anyone that doesn't like coconut can still have a piece of cake.

You can leave the cake as is, but it's fun to be creative and decorate the cake.  Kids love to help with the decorating.  My son's helped decorate the cake since he was two.  The first year he helped me, it wasn't physically possible to add one more jelly bean to the cake!  Over the years, he's perfected his technique and learned about moderation.

In home ec, we decorated everything -- ears, face and bow tie -- with jelly beans.  However, you don't have to use jelly beans to decorate the cake. As you can see from the picture, one year my son used M&M's and two upside down Hershey's Kisses to decorate the bow tie.  

Instead of jelly beans, additional coconut can be tinted pink and sprinkled on the ears.  The easiest way to tint coconut is in a resealable plastic bag. Dilute some red food coloring with 1/2 teaspoon water and pour over the coconut.  Seal the bag and shake the coconut until it's evenly tinted.

The whiskers can be made out of licorice.  You can also use licorice to outline the bow tie.  The rest of the cake can be decorated with M&M's, Skittles, gum drops, spice drops or any other colorful candy.  There are no steadfast rules so let creativity be your guide. 

The cake is a real crowd pleaser and disappears faster than candy in a child's Easter basket.  No matter what else you serve for Easter dinner, the cake is what everyone will remember.  

Easter Bunny Cake
12 Servings

1 (18 1/4 oz.) pkg. white cake mix
1 cup cold water
1 envelope Dream Whip (dry)
4 eggs
1/3 cup oil or applesauce
2 (16 oz.) containers white frosting (vanilla, buttercream or cream cheese)
flaked coconut (enough to cover cake)
jelly beans or other candy (to decorate the cake)

Put the first five ingredients in a bowl and beat with an electric mixer for 5 minutes.  Pour batter into two greased and floured 8-inch round cake pans. Bake at 325° for about 40 minutes.  Remove pans from oven and cool on a wire rack for 10 minutes.  Remove the cakes from the pans and cool completely on a wire rack.


When the cakes are completely cool, put one cake on a wire rack in the freezer for 30 minutes.  Remove from the freezer and put the cake on a cutting board.  Cut curves in the sides of the cake for the ears.  Use the leftover piece for the bow tie.  Arrange the pieces on a cake board or cookie sheet, using the remaining cake for the bunny's face.  Cover cake with the frosting.  Sprinkle coconut on top of the frosting.  Decorate with jelly beans or other candy.


© Margaret's Morsels


April 20, 2011

Easter Menu: Part 2

Pin It This is the second of a three part series with recipes from my Easter menu.

Margaret's Morsels | Bread Machine Buttermilk Rolls

Several readers emailed and asked if I was ever going to share the recipe for the rolls pictured above.  Since Easter is less than a week away -- and I make these rolls for every holiday -- this seemed like the perfect time.


My mother was a wonderful baker.  She made homemade bread, biscuits and rolls from scratch.  Unfortunately, I didn't inherit that gene.  However, thanks to my mom, I'm able to make rolls, but not the way she did.


In 1999, my mother gave me a bread machine for Christmas.  Thanks to this thoughtful gift, I'm able to put a basket of homemade rolls on the table every holiday and special occasion, just like my mother used to do.


Margaret's Morsels | Bread Machine Buttermilk Rolls

One advantage of using a bread machine is the device does all the work. Once the ingredients are added and the machine turned on, the mixing, kneading, rising and, if you're making a loaf of bread, baking are all done for you.


Bread machines have a variety of settings, such as basic, French, sweet and whole wheat to name a few.  You can also adjust the color of the loaf from light to medium to dark.  I hate to admit I've never used any of those settings.  In fact, I've never used my bread machine to make a loaf of bread.  The only setting I ever use is the dough/pasta setting.


The dough/pasta setting mixes and kneads the roll ingredients and allows them to rise in a draft free environment.  Once the dough is ready, all I have to do is shape the rolls, let them rise again and bake them in the oven.


Although the rolls I make are called One Hour Buttermilk Rolls, it definitely takes longer than an hour to make them in a bread machine.  I don't mind, though, since this gives me time to do other things.


If you want to make these rolls in a bread machine, make sure to follow the directions for your particular model.  Most machines require the ingredients to be placed in the pan in a certain order.  Sometimes the ingredients also need to be at room temperature.  If you're not sure, check the user's guide.


If you don't have a bread machine or want to make the rolls in less time, I'm also including the directions that came with the recipe.  I've never made the rolls this way, but a friend did and she said they came out perfect.


Regardless of the method used, there's two important things to keep in mind concerning the ingredients.  First, as the name implies, the recipe uses buttermilk.  I don't recommend substituting regular milk because buttermilk makes baked goods tender.


Second, the recipe calls for all-purpose flour.  I recommend substituting bread flour.  Bread flour, which can also be used in a bread machine, is made from hard wheat making it ideal for baked yeast goods such as rolls.


Margaret's Morsels | Bread Machine Buttermilk Rolls


Here are some tips that may come in handy, especially if you're using a bread machine.


Once the dough/pasta cycle is done, let the dough stay in the machine an additional 30 minutes.  The dough will continue to rise which makes the baked rolls extremely tender.


Margaret's Morsels | Bread Machine Buttermilk Rolls
The dough at the end of the dough/pasta cycle.


Margaret's Morsels | Bread Machine Buttermilk Rolls
Thirty minutes after the dough/pasta cycle is over.

After you remove the dough from the bread machine, knead it a couple of times on an unfloured bread board.  You can make the rolls into any shape, but I make them into cloverleaf rolls.

To make cloverleaf rolls, divide the dough into 18 equal pieces; divide each piece into 3 pieces.  Roll each piece into a ball.  Put three balls in each greased muffin cup.  The rolls are prettier when I roll the dough on the bread board with the palm of my hand instead of rolling it between my palms.


Margaret's Morsels | Bread Machine Buttermilk Rolls
Shaped and ready to rise.

Once the rolls have been shaped, cover the pans with a clean towel and put them in a warm place free from drafts.  I put the pans on top of the dryer.  If the rolls don't rise enough, I turn the dryer on to help speed up the process.  Once the rolls have doubled in bulk, put them in the oven and bake them for 15 to 18 minutes.


Margaret's Morsels | Bread Machine Buttermilk Rolls
The dough after it's risen and ready to be baked.

The recipe only makes 18 rolls so, if I'm cooking for a crowd, I make two batches.  I make one the day before, the other the day of the dinner.  You can serve the first batch at room temperature, but they're better reheated. To reheat the rolls, put them on a cookie sheet.  Cover the pan with foil -- you don't want the tops to get any browner -- and put them in a 350° oven for 10 to 15 minutes or until heated through.

There's nothing like the smell -- and taste -- of freshly baked bread.  The rolls may be the last thing to come out of the oven,  but they're the first thing to disappear off the table.  


One Hour Buttermilk Rolls
18 Servings

2 (1/4 oz.) pkg. active dry yeast
1/4 cup very warm water (115° to 120°)
1 1/2 cups buttermilk (at room temperature)
1/2 cup vegetable shortening
3 Tbsp. sugar
1 1/2 tsp. salt
1/2 tsp. baking soda
4 1/2 cups all-purpose flour (I use bread flour)

BREAD MACHINE DIRECTIONS:  Put the ingredients in the pan in the order and temperature listed by the manufacturer.    Close the lid and turn the machine on the dough/pasta cycle.  When done, let the rolls rise in the machine an additional 30 minutes.  

Remove dough and knead a couple of times on an unfloured bread board. Shape rolls into the desired shape and place in greased muffin cups. Cover with a towel and put in a warm draft free place to rise until doubled in bulk.  Bake at 400° for 15 to 18 minutes or until golden.

TO MAKE WITHOUT A BREAD MACHINE:  In a bowl, stir yeast into warm water until dissolved.  Stir in next 5 ingredients until combined (mixture will be lumpy).  Stir in flour, 1 cup at a time, until soft dough forms.  

Turn dough out onto lightly floured surface; knead until smooth and elastic, 8 minutes.  Let stand 10 minutes.  Shape rolls into the desired shape and place in greased muffin cups.  Cover with a towel and put in a warm draft free place to rise until doubled in bulk.  Bake at 400° for 15 to 18 minutes or until golden.


© Margaret's Morsels

April 15, 2011

Easter Menu: Part 1

Pin It This is the first of a three part series with recipes from my Easter menu.


Margaret's Morsels | Cranberry Orange Relish


For as long as I can remember, Easter has been my favorite holiday.  I love the pastel colors, the reawakening of the earth with flowers and blooms and, of course, the reason for the season.  I cook a feast on Easter that rivals the feasts I cook for Thanksgiving and Christmas.


Although a lot of my holiday menus are similar to what my mother served, my Easter menu is quite different from hers.  My mother always served her Thanksgiving menu, but with roasted chicken instead of turkey.  On Easter, the centerpiece on my table is a ham.


I love pairing ham with macaroni and cheese.  I also like to serve ham with green bean bundles, deviled eggs and fruit tea, all of which I've written about in previous blogs.


I do add one fall element to my menu:  Cranberry Orange Relish.  This is an unusual side dish to make at Easter since fresh cranberries aren't in season.  However, the relish goes great with ham and provides a refreshing burst of fruit flavor.


Margaret's Morsels | Cranberry Orange Relish


I'm a late in life cranberry convert.  I love cranberries so much now, I enjoy eating them year round.  I buy extra bags when they're in season and store them in the freezer.  That way, I can make this -- or any cranberry dish -- during the year.


In addition to fresh cranberries, you'll need a food grinder or food processor to prepare the relish.


Rinse the cranberries under cold water and drain them in a colander.  If you're using frozen berries, don't thaw them ahead of time.


Margaret's Morsels | Cranberry Orange Relish

Wash an orange and cut it into eighths.  You're going to use the whole orange -- including the peel -- which gives the relish more flavor.  If you're not using a seedless orange, be sure to remove any seeds.


Margaret's Morsels | Cranberry Orange Relish

Peel, core and slice an apple into quarters.  I use a Granny Smith apple which is tart.  You can use a sweeter apple such as Gala, Red Delicious or Rome or something in between, such as Baldwin, Cortland or Jonathan.


Margaret's Morsels | Cranberry Orange Relish

Grind the fruit into small pieces.  If you're using a food processor, be careful not to pulse it too much.  You don't want the relish to be runny. Depending on the size of your grinder or food processor, you might need to grind the fruit in batches.  I grind each fruit separately and combine everything in a mixing bowl.


Margaret's Morsels | Cranberry Orange Relish
The ground cranberries, orange and apple.


Once the fruit has been ground, stir in a can of crushed pineapple and sugar to taste.  Cranberries are acidic and when combined with a tart apple and pineapple in its own juice, the relish isn't very sweet.  I add 1 1/4 cups sugar, but you can add more or less to suit your taste.


Put the relish in an airtight container and store it in the refrigerator.  I make the relish a few days ahead of time.  Not only does this save me time, it also gives the ingredients time to blend.


The relish can be made two weeks ahead of time and stored in the freezer. Take the relish out of the freezer a day or two before serving and let it thaw in the refrigerator.  If the relish is runny when it's thawed, drain it before putting it in a serving bowl.


If you've got cranberries in the freezer, you might want to add this relish to your Easter menu.  If you don't have any cranberries, you might want to buy some this fall and keep them in the freezer.  This relish makes a great side dish all year round which is a good reason to keep cranberries in the freezer.


Cranberry Orange Relish
6 Servings

1 (12 oz.) bag cranberries, rinsed and drained
1 orange, washed, cut into eighths and seeded
1 apple, peeled, cored and cut into quarters
1 (8 oz.) can crushed pineapple, drained
1 to 2 cups sugar to taste (I use 1 1/4 cups)

Grind cranberries, orange with the peel and apple in a food processor.  Be careful not to pulse it too much.  Add pineapple and sugar, stirring to mix the ingredients.  Store covered in the refrigerator.


© Margaret's Morsels

April 11, 2011

A Perfect Pair

Pin It
Margaret's Morsels | Cherry Chocolate Cake

My husband loves cherries, but he loves them even better when they're paired with chocolate.  Fortunately, I have a cherry chocolate cake recipe that is much easier to prepare than the Chocolate Covered Cherries I made him for Valentine's Day.


Last year, a friend from grade school posted a picture of this cake on his facebook page.  I could tell from the picture my husband would love the cake so I asked for the recipe.  I made the cake for our anniversary and, since my husband liked it so much, made it for our anniversary again this year too.


The cake starts with a box of red velvet cake mix.  If you're not familiar with red velvet cake, it's a chocolate cake similar to devil's food cake.  However, red velvet uses less cocoa and gets its color from red food coloring.  It's usually baked in layers and frosted with cream cheese icing.


Prepare the cake mix following the directions on the package and bake in two greased and floured round cake pans.  When you bake a chocolate cake, dust the greased pans with cocoa instead of flour.  The cocoa blends in with the cake and doesn't leave a white residue.


Margaret's Morsels | Cherry Chocolate Cake
The greased pans dusted with cocoa.

I prefer a thicker cake so I use two 8-inch pans.  You can use 9-inch pans, but the cake will be wider and thinner.


After the cake is completely cool, mix the cherry pie filling with the almond extract.  Half of the pie filling mixture is combined with 1 cup Cool Whip making a beautiful pale pink filling.  Spread the filling on the bottom cake layer to within 1 1/2-inches of the edge.  Don't spread it all the way to the edge or it will ooze out when you add the second layer.


Margaret's Morsels | Cherry Chocolate Cake

The second cake layer goes on top of the filling.  The remaining cherries, sans Cool Whip, are put on the top cake layer to within 1 1/2-inches of the edge.  This keeps the cherries from falling off, either on their own or when the cake is cut.  It also leaves room for you to decorate the edge with Cool Whip before serving, if desired.  


Once the cake is assembled, put it in a plastic cake keeper or on a cake plate with a lid and store it in the refrigerator.  If you cover the cake with plastic wrap or foil, the cherries will get messed up.  I bake the cake a day ahead of time so the cake and filling are cold when it's served.


When you're ready to serve the cake, you can decorate the cake edges with the remaining Cool Whip.  Not only does this garnish the cake, it helps keep the cherries in place.  If you want to dress the cake up even more, garnish each piece with sliced almonds when you serve the cake.


The red cake and pink filling make a beautiful combination.  The cake is especially pretty for a baby or bridal shower, but it also makes a lovely anniversary cake.  Don't wait for a special occasion to bake it; it's a good every day cake, especially when you love the combination of cherries and chocolate.


Cherry Chocolate Cake
8 to 12 Servings

1 (18.25 oz.) pkg. red velvet cake mix (plus ingredients to make the cake)
1 (21 oz.) can cherry pie filling
1/4 tsp. almond extract
1 (8 oz.) container Cool Whip, thawed

Prepare, bake and cool cake as directed on the package for two 8 or 9-inch pans.  Combine cherry pie filling and almond extract in a small bowl; stir.  Place bottom cake layer on a serving plate.  Combine 1 cup Cool Whip with 1/2 of the pie filling mixture; stir and spread on bottom layer. Place top cake layer on filling.  Use remaining portion of pie filling on top layer to within 1 1/2-inches of edge.  Cover and refrigerate until serving time.  If desired, decorate the edges with Cool Whip before serving. Refrigerate leftovers.


© Margaret's Morsels

April 6, 2011

S'Mores Morselette

Pin It

Margaret's Morsels | Microwave S'mores


I'm out of town so my 13 year old son offered to be a guest blogger and write today's morselette.  Since the topic he chose -- s'mores -- is something I would never write about, I told him to blog away.  He did the writing and pictures without any help from me.  I hope you enjoy his post.


There are many different things during summer one can enjoy.  From roasting hot dogs to outdoor parties and my favorite the s'more.  I enjoy s'mores a lot, but for many years we didn't have a way to cook them over a fire.  My mom, however, found a neat tool called the micro s'mores that makes s'mores in 10 seconds in the microwave.  So in my opinion, the micro s'mores is a great way to make s'mores if you don't have room for a fire to cook them over.


Margaret's Morsels | Microwave S'mores


© Margaret's Morsels